





How to Fix iPad Screen: Singapore Guide 2026
You're probably reading this with a cracked iPad beside you, wondering if it's still worth saving. The glass may only have one corner shattered, or the whole front may look like a spiderweb. Either way, the first reaction is usually the same: panic, then a quick search for how to fix ipad screen without spending more than the device is worth.
That reaction is understandable. Screen damage is common in Singapore, and a 2024 CASE survey reported that cracked screens made up 37% of all iPad repair claims. The good news is that a broken screen doesn't automatically mean you need a brand-new iPad. In many cases, the right next step is simple, safe, and much cheaper than rushing into a replacement.
Table of Contents
- That Heart-Stopping Moment Your iPad Hits the Floor
- First Aid for a Damaged iPad Screen
- The DIY vs Professional Repair Decision Checklist
- Inside a Professional iPad Screen Replacement
- Your Smart Repair and Replacement Options in Singapore
- Frequently Asked Questions About iPad Screen Repair
That Heart-Stopping Moment Your iPad Hits the Floor
The sound tells you almost everything before you even pick it up. Glass on tile. A sharp edge under your thumb. Then that quick check: does the display still light up, does touch still work, can you still access your device?
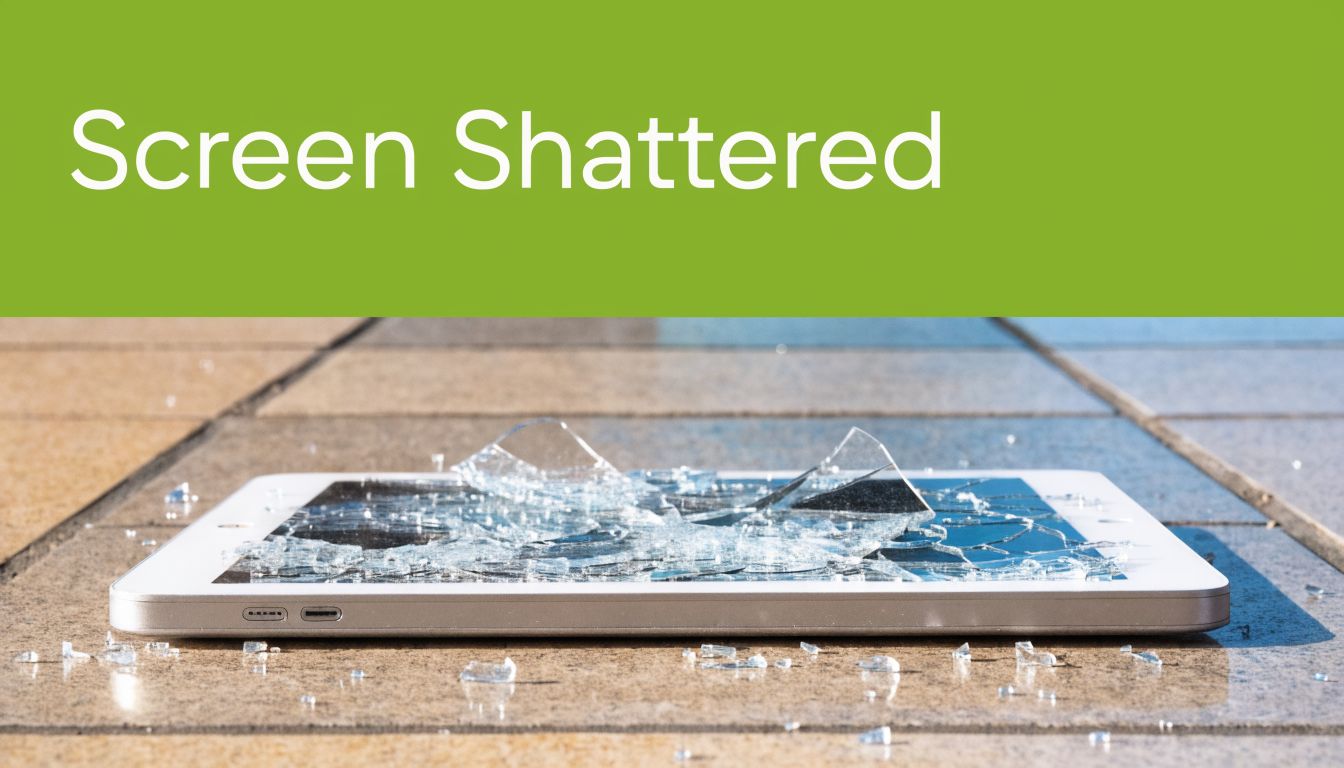
At the Bugis Junction service centre, this is the part that usually matters most. Not the crack itself, but what the owner does in the next few hours. Some people keep using the iPad as if nothing happened. Others press down on the damaged area, try to peel loose glass, or toss it into a bag where more pressure finishes the job.
A cracked screen isn't rare, and it isn't automatically the end of the device. It's often a decision point. You need to know whether the damage is only on the outer glass, whether the display underneath has also failed, whether your data is at risk, and whether the repair still makes financial sense compared with replacing the unit.
A broken screen is stressful. A rushed decision usually costs more than the crack itself.
Individuals searching for a way to fix ipad screen are trying to answer three practical questions:
- Can I still use it safely? Cracked glass can cut your fingers and let dust work its way inside.
- Can I repair it myself? Sometimes yes, but only if you understand the tools, the part type, and the risk of damaging cables or the display.
- Should I repair or replace it? That depends on the model, the extent of damage, and whether the rest of the iPad is still healthy.
What matters right away
The first few checks are simple:
- Screen still shows an image: That points to one type of repair path.
- Black spots, coloured lines, or no display: That usually means the LCD is involved.
- Touch works only in some areas: Internal layers may already be compromised.
- Frame is bent: Screen replacement becomes more complicated because the new panel may not sit properly.
If you handle the first hour well, you usually preserve your options. If you guess, force, or delay too long, a straightforward repair can turn into a more expensive one.
First Aid for a Damaged iPad Screen
Start with safety, not shopping. If the iPad still powers on, don't keep tapping and swiping just to “test” it. Check what failed, protect the data, then stop the damage from spreading.
A 2024 Singapore Polytechnic Engineering study covering 1,200 iPad repair cases found that 62% of screen breakages happened within the first 24 months of ownership, and repair success was 92% for screens under 2 years old. Early action helps because the device is less likely to have accumulated other wear before the break.
Check what actually broke
Not every cracked iPad has the same problem.
If the top glass is cracked but the picture looks normal, the damage may be limited to the front layer or digitizer assembly.
If you see black blotches, vertical lines, flicker, colour bleeding, or no image, the LCD is likely damaged too.
If touch stops working in strips or dead zones, the panel may still light up while the touch layer has failed.
Use this quick check:
- Glass-only symptoms: cracks, sharp edges, normal brightness, normal colour, normal image
- LCD symptoms: ink-like patches, coloured lines, dim areas, flashing, image distortion
- Touch symptoms: ghost touches, missed taps, dead zones, delayed response
That distinction matters because the repair approach changes. It also changes the risk if you try to fix it yourself.
Protect your data before the screen gets worse
If the iPad still responds, back it up immediately. A cracked panel can worsen after one more drop, one twist in a bag, or one hard press near the edge.
Practical rule: If the screen still unlocks, treat that as your backup window.
Use iCloud or a computer backup while the device is still usable. Don't wait for “a better time”. Screens often fail in stages.
If you've got young children at home and broken devices sometimes end up on a shared table or in a family bag, it also helps to keep a proper household first-aid setup nearby. Parents often already do this with items like safety and grooming kits for toddlers, and the same mindset applies here: contain sharp hazards early, before someone grabs the damaged item casually.
Later, if you want to reduce the chance of another impact after the repair, a tempered glass screen protector guide for iPads is worth reading before you start using the device bare again.
A quick visual walkthrough helps if you're checking the damage for the first time:
Make the device safe to handle
Once the backup is done, power the iPad off.
Then do the following:
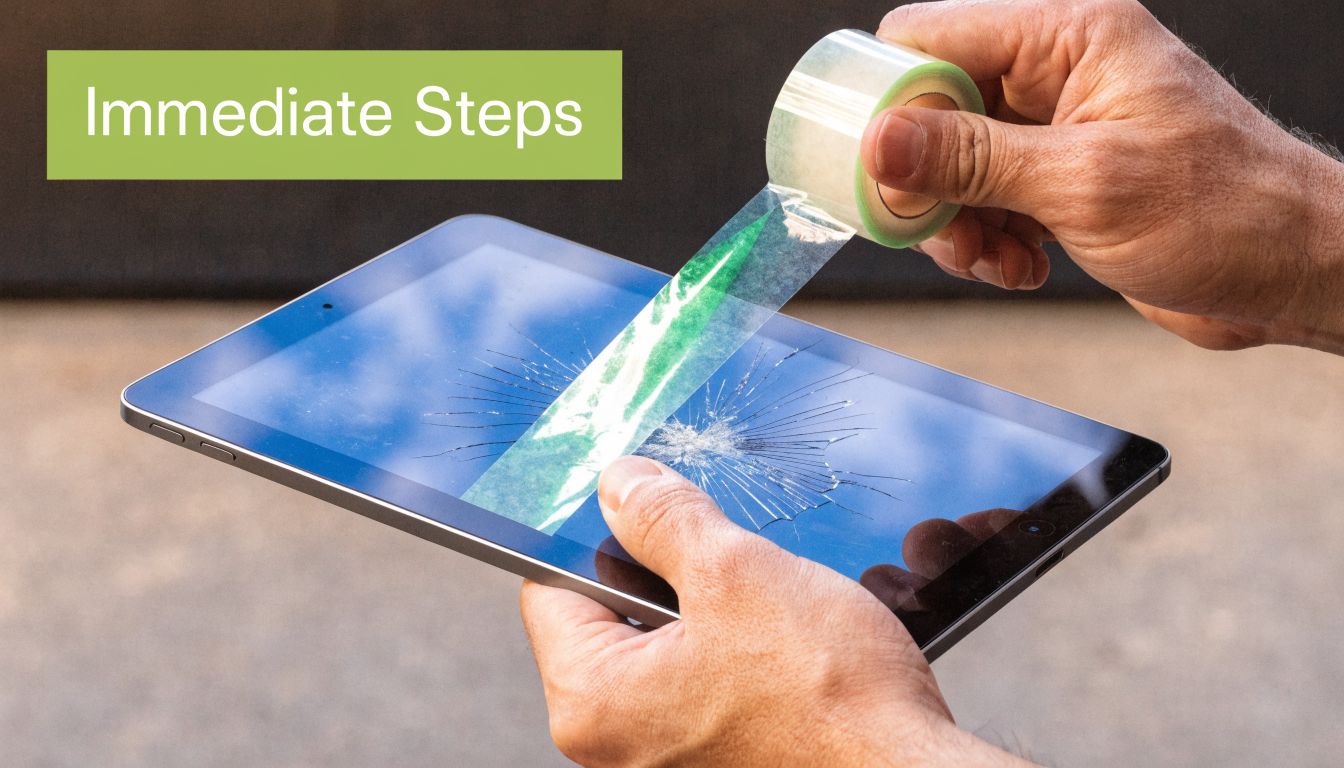
- Tape over severe cracks with clear adhesive tape so loose fragments don't lift.
- Avoid pressure on the centre of the screen, especially if the LCD is still working.
- Keep it out of a backpack sleeve with books or laptops pressing against it.
- Don't use household glue on the crack. That creates a mess and complicates proper repair later.
- Don't keep charging a badly damaged unit if the frame is bent or the device has taken a heavy impact.
This stage isn't glamorous, but it's where many devices are saved from becoming worse than they started.
The DIY vs Professional Repair Decision Checklist
People usually underestimate the job. They see a replacement part online, a teardown video, and think the repair is mostly about patience. It isn't. It's about whether you can finish the job without turning a screen problem into a logic board, cable, or alignment problem.
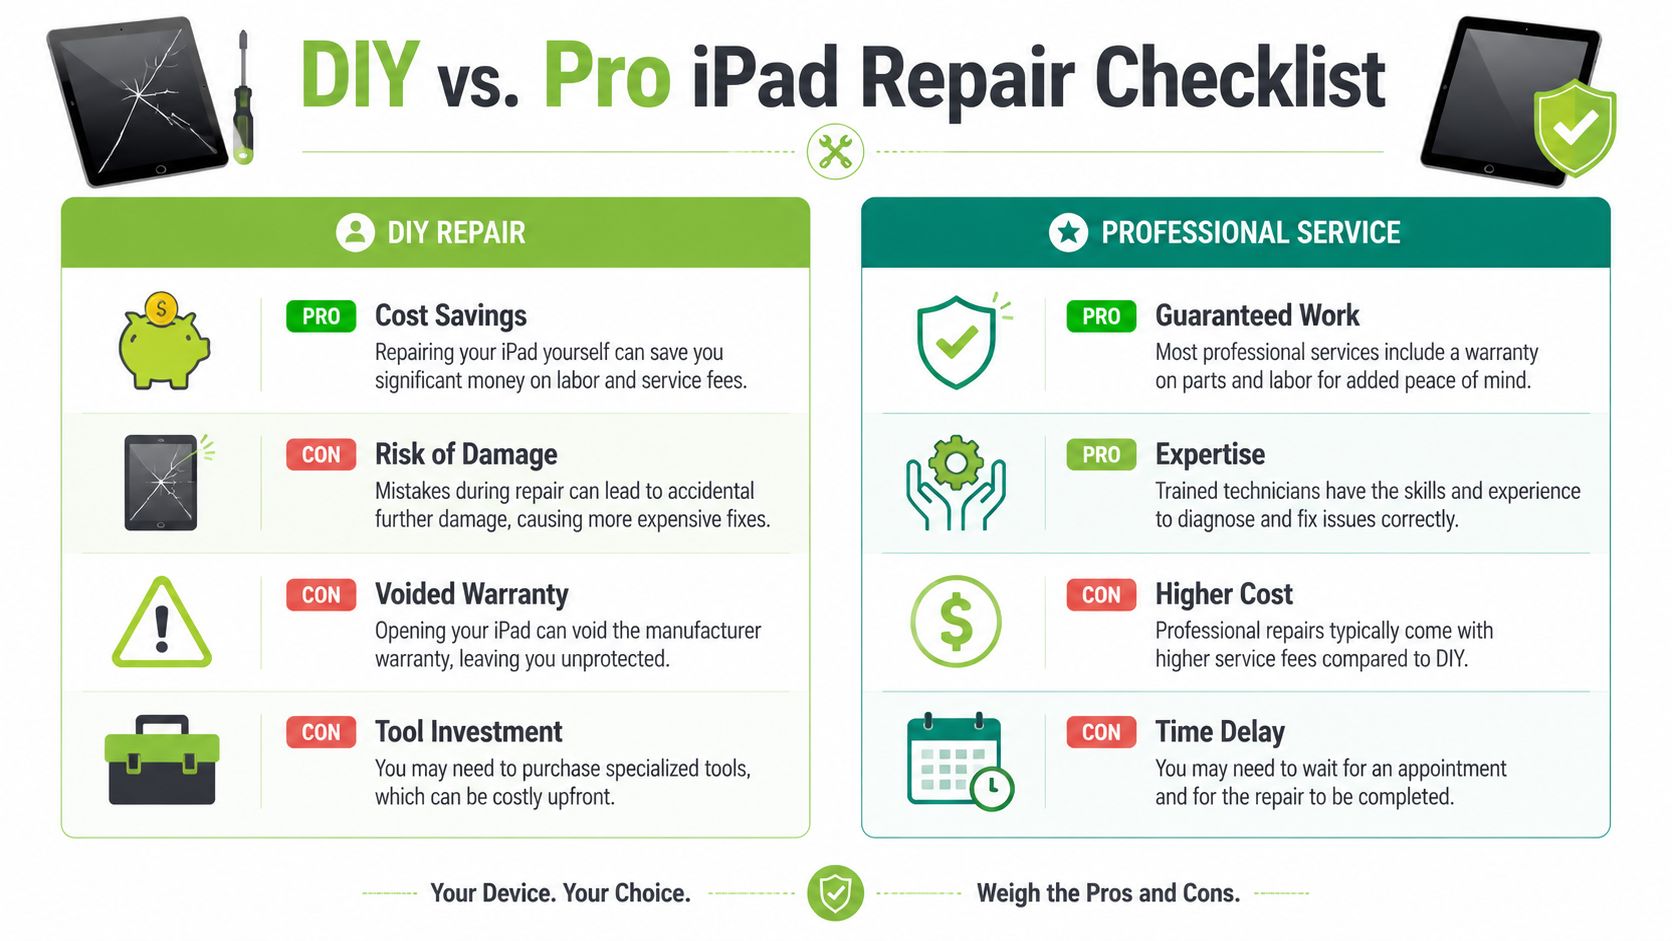
At the bench, the DIY failures are usually predictable. myhalo's 2025 Singapore repair data logged flex cable tears in 8% of botched DIY cases, stripped screws in 11%, and backlight bleed from dust ingress in 12%. Those aren't dramatic mistakes. They're small errors that happen because iPad repairs punish impatience.
When DIY makes sense
DIY can work if your situation looks like this:
- You already have repair experience. Not phone case swapping. Actual adhesive-screen disassembly and cable handling.
- You accept the risk of losing the part cost. If the new panel cracks during install, that's on you.
- You're working on an older iPad. If the device has limited resale value, some owners accept the experiment.
- You have proper tools and a clean work area. Heat control, suction, plastic opening tools, screw organisation, and dust control all matter.
DIY usually works worst when the owner is halfway confident. That's the danger zone. Confident enough to open it, not experienced enough to recognise when the frame, cable routing, or adhesive seating is going wrong.
When professional repair is the safer move
Professional repair is usually the better choice when any of these apply:
- The iPad is still your daily school or work device
- The display shows LCD damage, not just cracked glass
- The frame has a slight bend
- You need predictable turnaround and warranty support
- You can't risk Face ID, Touch ID, or touch-response issues after reassembly
If you're also weighing repair against buying another device, it helps to compare the economics with a refurbished iPad option in Singapore, especially for older models where a major screen repair may not be the smartest spend.
| Factor | DIY Repair | Professional Repair (myhalo) |
|---|---|---|
| Upfront cash outlay | Can look lower at first | Usually higher at the start |
| Tool requirement | You need to source the tools yourself | Tools and setup are already part of the process |
| Risk of extra damage | Higher, especially with cables, screws, dust, and alignment | Lower because the process is controlled |
| Warranty impact | Can affect existing coverage and gives you no workmanship protection | Includes service-backed support |
| Time spent | Research, ordering, setup, repair, rework | Handled by technician workflow |
| Best fit | Experienced hobbyist with an older device | Users who want predictable outcome and less risk |
If the iPad still has good everyday value, the cheapest path isn't always the lowest-cost outcome.
There's nothing wrong with DIY when the owner knows exactly what they're taking on. The problem is that many people only price the part, not the failed attempt.
Inside a Professional iPad Screen Replacement
A proper screen replacement is controlled work. It isn't “pry off, plug in, close up”. On an iPad, the front assembly, adhesive bond, cable routing, home button components on older models, and frame condition all affect the result.
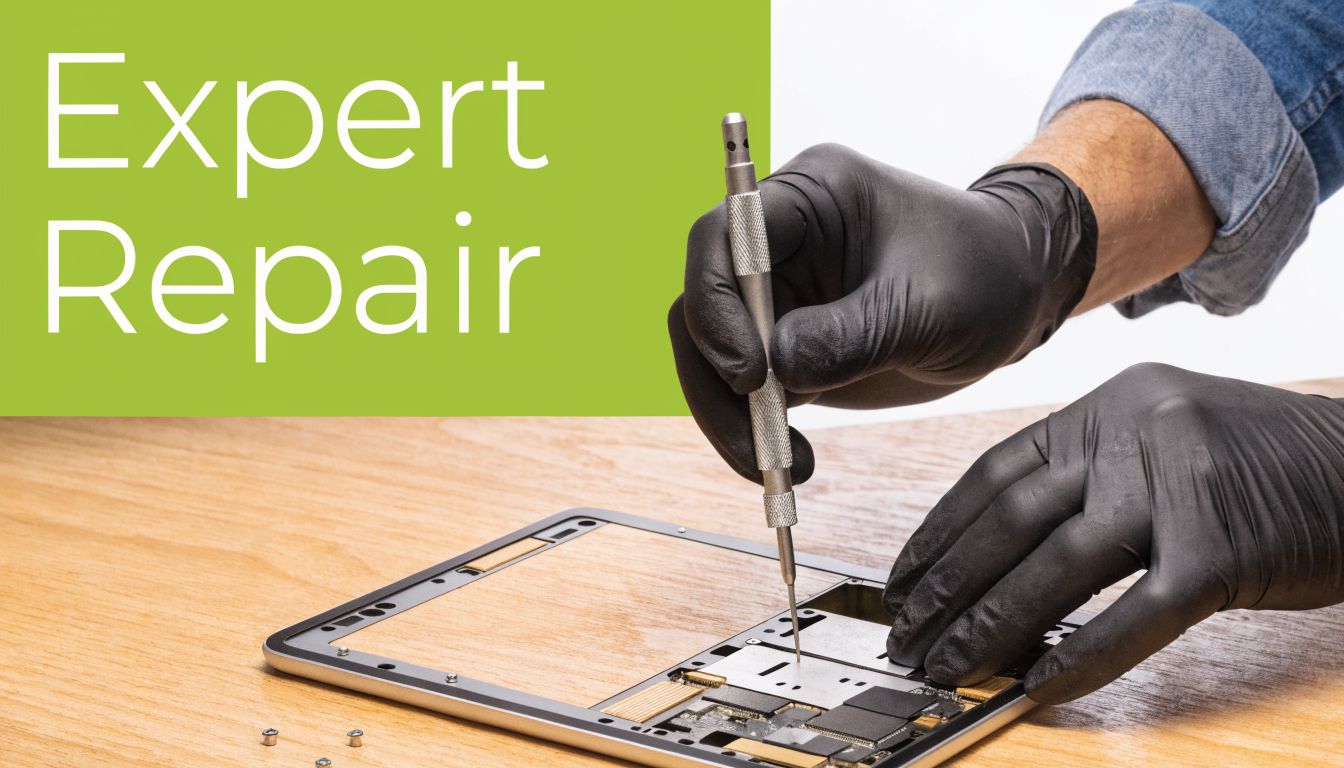
In Singapore's humidity, adhesive handling matters more than many people realise. The documented repair method used at myhalo includes heating the screen edge to 85°C to dissolve OEM adhesive, disconnecting flex cables with 0.1Nm torque, and sealing in a controlled environment to reduce dust ingress, producing a 96.8% first-pass success rate.
What the job actually involves
A careful iPad screen replacement usually follows this sequence:
- Power down and manage battery state before opening.
- Heat the perimeter evenly so the adhesive softens without overheating the display layers.
- Lift the damaged screen slowly with suction and opening tools, not brute force.
- Disconnect flex cables in the right order because the cable arrangement differs by model.
- Inspect the frame for bends, dents, and leftover glass.
- Clean the seating surface so the replacement panel sits flat.
- Install and align the new assembly with even pressure and proper adhesive placement.
- Test touch, display quality, and button response before final sealing.
Each of those steps looks simple when compressed into a short video. On the bench, they aren't. A millimetre of misalignment can affect fit. Dust inside the panel area can show up immediately under bright backgrounds. A bent frame can keep the new screen from bonding properly.
Why precision matters more than speed
The hidden work is usually what determines whether the repair lasts.
Heat control: Too little heat and the glass fights back. Too much and internal layers can suffer.
Cable discipline: iPad flex cables are delicate. The damage often happens during removal, not installation.
Clean-room habits: In a humid, dusty environment, sealing a panel without contamination takes more than wiping the frame with a cloth.
Most bad screen repairs don't fail at handover. They fail later, when weak adhesive lifts, dust becomes visible, or touch starts acting up.
That's why professional pricing isn't just about the part. It covers the method, the environment, the reassembly standard, and the chance of getting the device right on the first pass.
Your Smart Repair and Replacement Options in Singapore
A cracked screen doesn't always lead to the same answer. Some iPads are worth repairing straight away. Some are better traded in. Some older units make more sense to replace with a refurbished device instead of sinking money into a complex repair.
Repair when the iPad still has good value
Repair is usually sensible when:
- The iPad still performs well for your needs
- Battery health and charging are otherwise normal
- The body isn't badly bent
- The damage is mainly confined to the screen assembly
- You need to keep your apps, settings, and workflow intact
If you want a service route rather than a DIY attempt, Apple service centre options in Singapore are worth comparing alongside independent repair providers so you understand turnaround, warranty implications, and model support.
A professional repair path is often the cleanest answer for newer iPads or for devices used daily in school, business, or creative work. It keeps the disruption low and avoids the learning curve of opening a glued tablet for the first time.
Replace when the damage goes beyond the screen
Sometimes repair isn't the smartest decision.
That usually happens when the iPad has multiple issues at once, such as:
- Screen damage plus a bent housing
- Charging problems after the drop
- Battery decline on an already old model
- A repair cost that starts to approach the practical value of the device
In that situation, replacement doesn't have to mean buying brand new. A refurbished iPad can be the more sensible path if you want predictable performance without paying full retail pricing. Trade-in also helps when the broken device still has parts value or can be processed for reuse rather than discarded.
This matters beyond your wallet. Repair and reuse keep devices in circulation longer, which is the more practical response to Singapore's growing electronics waste problem. For many users, the smartest move is neither “always repair” nor “always replace”. It's choosing the option that matches the age of the device, the severity of damage, and how much downtime you can tolerate.
Frequently Asked Questions About iPad Screen Repair
Some questions come up almost every day at the counter. Most are really about risk, not just repair.
| Question | Answer |
|---|---|
| Can I still use my iPad with a cracked screen? | You can sometimes use it for a short period if touch and display still work, but it isn't ideal. Cracks can worsen, loose glass can cut your fingers, and pressure can turn a minor break into LCD damage. |
| Will I lose my data during screen repair? | A screen repair doesn't automatically erase data, but backup should always come first if the device still powers on. If the iPad is unstable, treat the current access as temporary. |
| How do I know if it's only the glass and not the LCD? | If the image is clear and normal, the LCD may still be fine. If you see lines, black patches, flicker, or colour distortion, the display layer is likely damaged too. |
| Is it worth repairing an older iPad? | Sometimes yes. It depends on how well the rest of the device works, whether the frame is straight, and how the repair cost compares with the practical value of the model. |
| Can I do the repair from a video guide alone? | A guide can show the sequence, but it doesn't give you the feel for adhesive release, cable fragility, frame inspection, or dust control. Those are the parts that usually trip people up. |
| How long should I wait before deciding? | Don't delay the first-aid steps. Back up the device, power it down, and assess the damage early. Waiting while continuing to use it often makes the outcome worse. |
| Will a new screen make the iPad feel original again? | A proper repair can restore normal touch and display performance, but the result depends on part quality, frame condition, and installation quality. |
| Should I repair or replace? | Repair if the iPad still has good working life and the damage is mainly screen-related. Replace if the device has stacked issues or the economics no longer make sense. |
The right choice is the one that lowers your total risk, not just your immediate bill.
If you're stuck between a repair and a replacement, the fastest way to decide is to stop guessing. Get the model checked, confirm whether the LCD is involved, and compare the repair path against the remaining value of the device.
If your iPad screen is cracked and you want a practical next step, myhalo is one place to compare repair, trade-in, and refurbished replacement options without guessing your way through it. A proper assessment usually tells you very quickly whether it's worth fixing, worth replacing, or worth backing up and retiring.